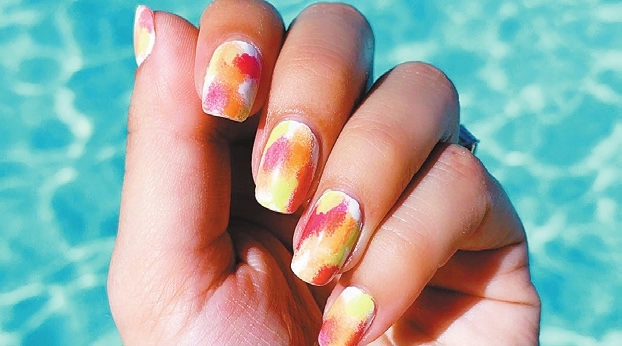
SUMMER is the perfect time to start experimenting with fun nail art, and one trend that’s emerging this season is tie-dye. Here’s how to easily create DIY tie-dye nails at home, according to nail artists. “What I love about tie-dye nails is that you don’t really need any fancy tools to achieve a cool effect,” nail artist Chelsea King says. “I always recommend a cleanup nail brush because it’s great for fixing any mistakes around the cuticle,” she adds. “But it’s also handy for achieving this watercolor tie- dye effect.” As for colors, start with a nice white nail polish or neutral shade for a base. For the actual tie-dye effect, King says she prefers using contrasting pastel colors to make the design pop, while nail artist Alicia Torello says she likes using shades of the same color family — you can’t go wrong either way. Here are some simple steps to do it. What you need: a base coat, one neutral base color, two or more colored nail polish, a cleanup nail brush or small makeup sponge, or a toothpick. How to do tie-dye nails with a sponge or brush: Start with a base coat and let dry. Apply two coats of a neutral color for the base, let dry. Using the brush straight from one colored bottle, apply a few dots on the nail. Immediately take a nail brush or small makeup sponge dipped in nail polish remover and tap it onto the dots to blur out the colors. Repeat the process with a second color. Let dry. Apply a top coat. How to do tie-dye nails with a toothpick: Start with a base coat. Apply two coats of a base color. Let dry. Paint thick stripes on the nail with three colors or more. Before it dries, get a toothpick and drag a line through the colors, which will pull each color into the next and create a tie-dye effect. Let dry, then add a top coat. (SD-Agencies) | 
